Available Light? I Make My Own Sunshine, Thanks.
Ah, the life of a photographer who’s mastered artificial light in her photography. Gone are the days of praying to the sun gods for the perfect afternoon light. Now, we’re the masters of our own illuminated universe, wielding strobes and LEDs like magic wands. Let’s dive into the world of artificial lighting in photography, where we can bend photons to our will and make our subjects look fabulous, even in the darkest of caves. (Let’s hope you’re not really shooting in a cave!)
.jpg)
The Light Side of the Force
First things first, let’s talk about the types of artificial light at our disposal. We’ve got continuous lights, speed lights, and strobes. Continuous lights are like that friend who never shuts up – always on and ready to go- think LED’s when shooting video. Speed lights(or your standard flash) are the ninjas of the lighting world – small, stealthy, and perfect for on-the-go shoots.
And then there’s the big daddy of them all: strobes. These are the heavyweight champions, packing enough punch to light up a small country. Once these bad boys needs an electrical outlet to shine but thanks to technological advancements, powerful batteries allow you to take these guys anywhere. (Even that cave we mentioned earlier).
The Holy Trinity of Lighting
Now, let’s get biblical with the holy trinity of lighting: key light, fill light, and back light.
- The #1 key light is your main source (and yes, this can be the sun when adding flash to soften harsh afternoon sun).
- Fill light is there to soften light in the shadows (light #3 in this illustration)
- A back light makes sure your subject doesn’t blend into the background (#2 is this illustration).
.jpg)
Modifiers Change the Light’s Behavior
But wait, there’s more! We’re not just pointing lights at things willy-nilly. Oh no, we’re sophisticated light benders. We’ve got umbrellas (the easiest to master but beware in strong wind) then there’s softboxes (from large to small) to make light as smooth as butter, snoots to focus it like a laser beam, and gels to turn our white light into a technicolor dreamcoat. It’s like playing dress-up, but for light!
Distance Matters- Don’t like the light- just MOVE IT!
Here’s a pro tip: want to change your light without spending a dime? Just move it! But when you move the light or your subject, you’ll need to check your light reading and see how your exposure has changed.
Bringing your light closer (with a large modifier) can soften it up and make your subject glow like they’ve just won the lottery. It’s like a free upgrade – who doesn’t love that?
.jpg)
Artificial Light and the Great Indoors
Now, let’s talk about indoor photography using artificial light. It’s like being a kid in a candy store, but instead of sugar, we’re high on lumens. First rule of indoor club: turn off all the lights except one. Start by setting one light, checking how it effects your subject, then add another. Continue this process until you’ve got your light hitting all the right spots.
And when the going gets tough, and the light gets low, remember this mantra: “Open up your aperture.” It’s not just good advice for photography; it works for life too.
The Bright and Airy Look
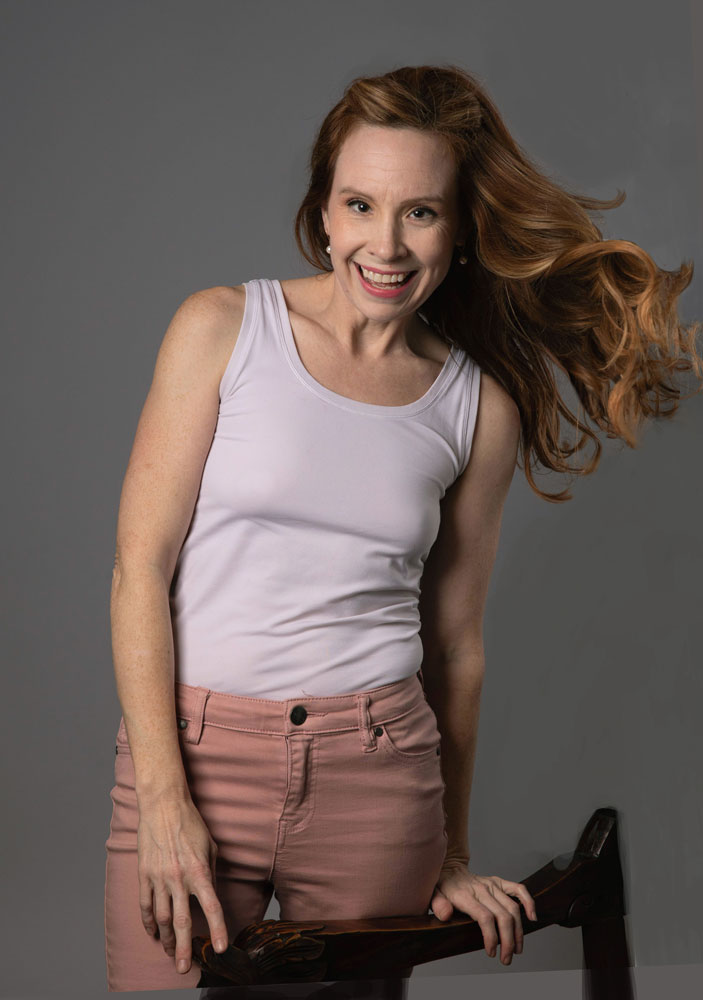
Want to create that bright and airy look that’s all the rage? You could wait for a perfectly overcast day, or you could be a lighting wizard and create it yourself. Bounce that flash off a white wall or a piece of foam core, and voila! You’ve just created your own personal cloud5.Remember, with great power comes great responsibility. Use your newfound lighting superpowers wisely. And if all else fails, just tell everyone you were going for a “moody” look. They’ll never know the difference.
Now go forth and light up the world, one perfectly illuminated photo at a time!
.png)
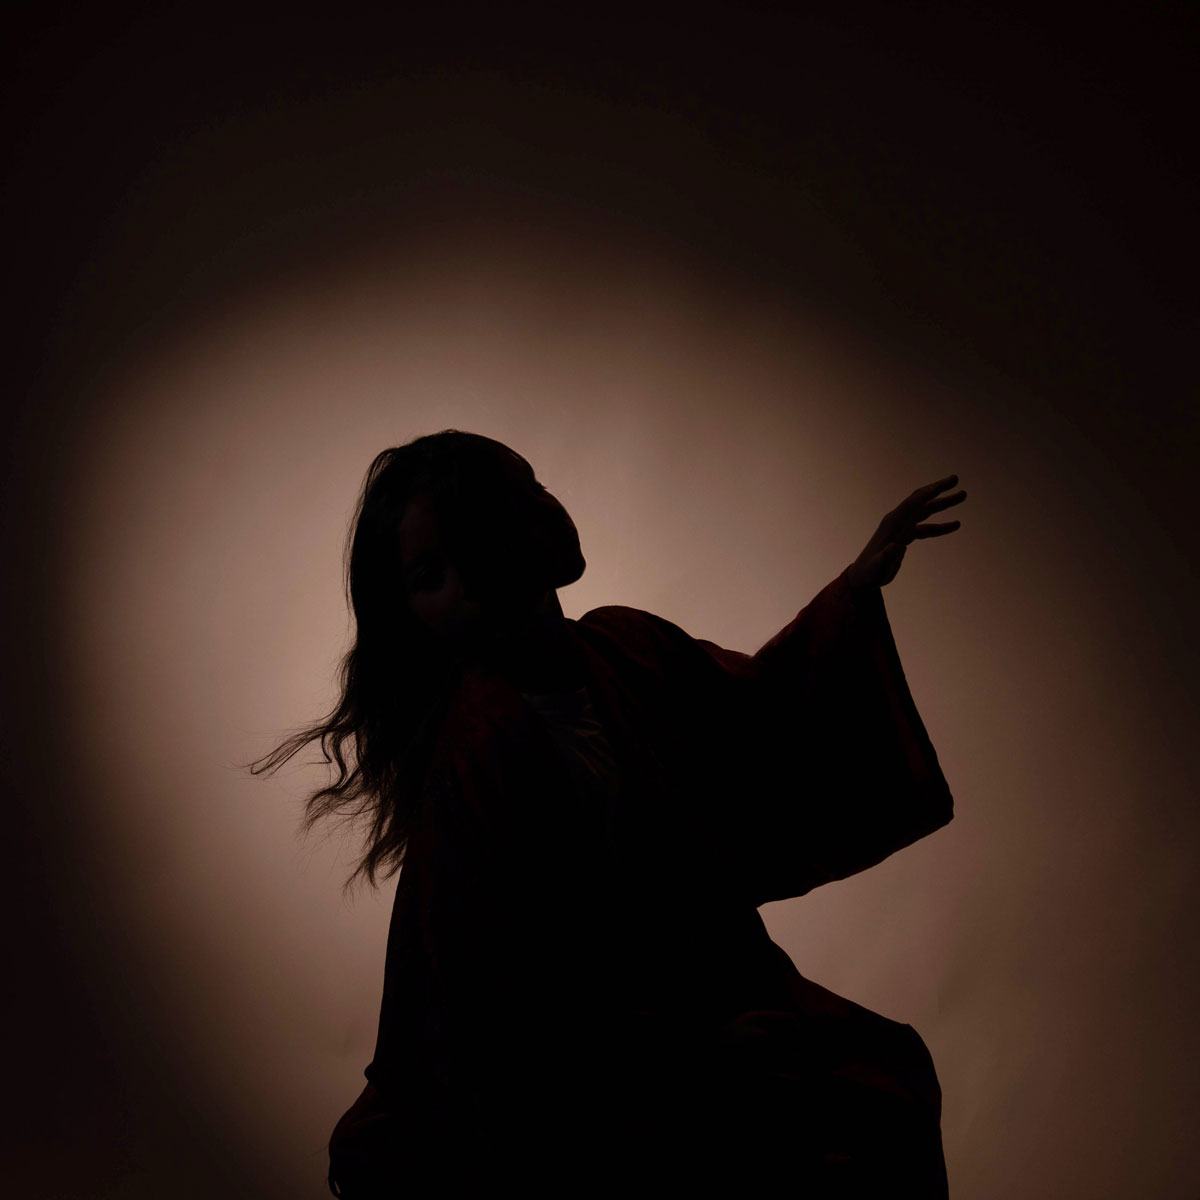
PS: What more lighting tips? Check out Lighting for Social Media Posts Or see some dramatic lighting I created for a series of self portraits.


